Have you ever stood in the cosmetics aisle staring at dozens of box dyes, wondering if you are ten minutes away from a fabulous new look or a complete disaster? You are definitely not alone. Taking your hair color into your own hands can feel intimidating, but it does not have to be a gamble.
With modern bond-building treatments and flexible formulas, coloring your hair at home has gotten much safer and more reliable. Achieving great results comes down to simple preparation, understanding how dye works, and following basic safety steps.
If you want to cover grays, refresh your natural tone, or shift your look a few shades, you can do it right from your bathroom sink. Here is how to keep your hair healthy, bright, and damage-free throughout the entire process.
Selecting Your Perfect Match
Before you pick a shade based on the model on the box, pause and look at your starting base. Box images can be deceiving because color always interacts with whatever pigment is already on your head.
A golden rule among hair colorists is the two-shade rule. When using permanent at-home dye, stay within two shades lighter or two shades darker than your natural base color. At-home formulas lack the custom-tailored developer ratios used in professional salons. Attempting to lift dark hair more than two levels with off-the-shelf kits often leads to brassy orange tones and unnecessary cuticle damage.
You also need to choose the right type of formula for your hair history and goals
• Semi-permanent color: Free of ammonia and peroxide, this formula coats the outside of the hair shaft without lifting natural pigment. It lasts between 4 and 12 washes, making it ideal if you want to try a new tone without permanent commitment.
• Permanent color: Opens the hair cuticle to deposit long-lasting pigment directly into the core. It is the best choice for total gray coverage or long-term color changes, though it requires root touch-ups as your hair grows out.
Developer strength matters just as much as shade selection
• 10-Volume developer: Deposits tone without lifting your natural base. Perfect for going darker or refreshing faded ends.
• 20-Volume developer: The standard strength for 100 percent gray coverage and lifting hair 1 to 2 shades.
• 30-Volume developer and higher: Designed for heavy lifting, but poses a real risk of chemical burns and breakage when used without professional supervision. It is best to avoid 30-volume kits at home.
Needed Pre Color Rituals
Preparation is the difference between an uneven mess and a smooth application. Skipping safety steps is where most home coloring mistakes happen.
First, always perform a skin allergy patch test 48 hours before you apply any dye.¹ Sensitization to hair dye chemicals can build up over time, meaning you can develop an allergic reaction even if you have used the same product for years.
A common chemical ingredient responsible for allergic reactions is para-phenylenediamine, or PPD. Found in roughly two-thirds of permanent oxidative dyes, PPD can cause severe contact dermatitis, scalp swelling, and irritation.²
To do a patch test
1. Mix a tiny drop of colorant and developer together using a cotton swab.
2. Apply a small amount to a clean patch of skin inside your elbow or behind your ear.
3. Leave it uncovered and dry for 48 hours.
4. If you spot redness, itching, burning, or tiny bumps, wash the area immediately and do not apply the product to your scalp.
Although you wait on your patch test, perform a quick strand test on a small lock of hair hidden underneath your top layer. This lets you preview the exact color result and see how fast your hair absorbs the dye.
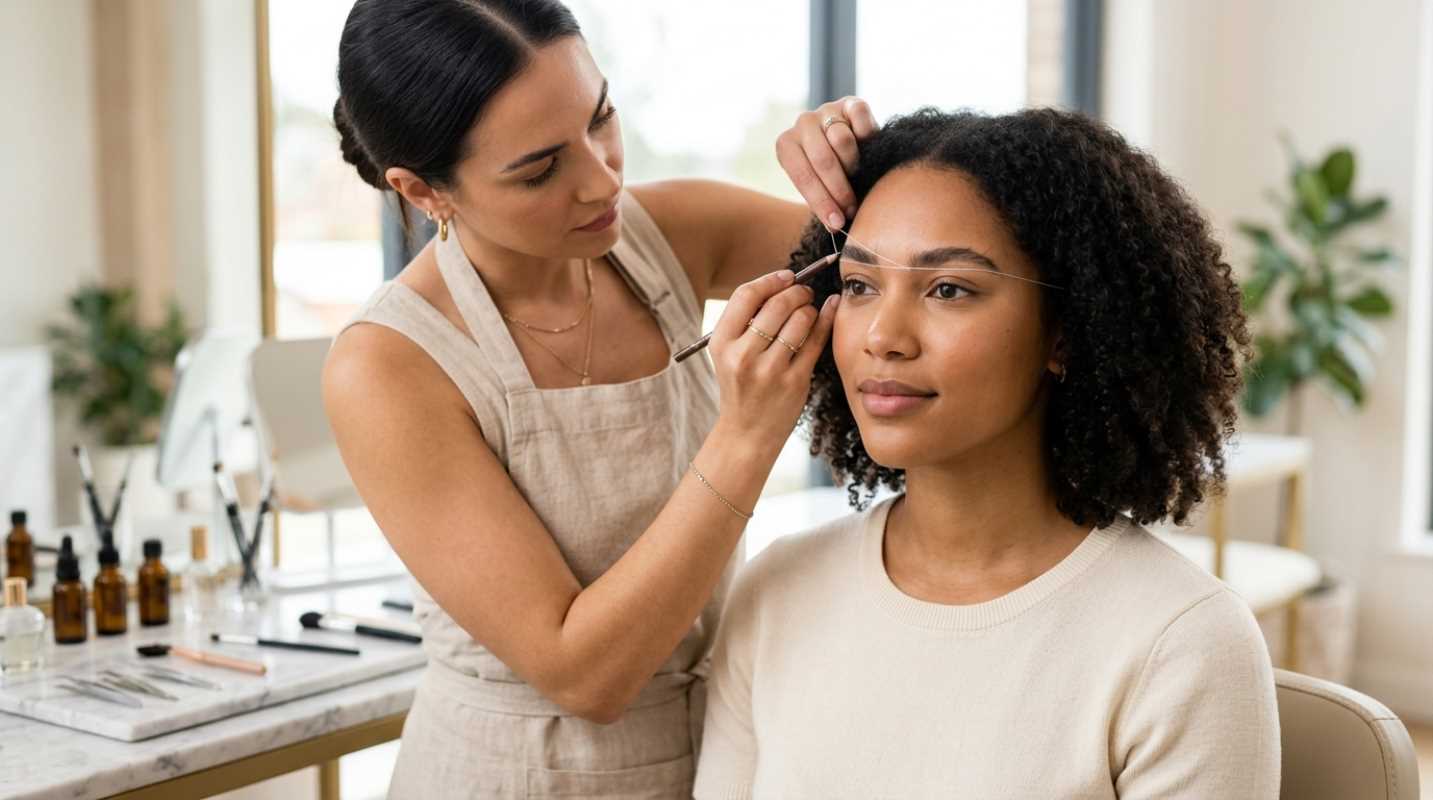
Also, remember safety regulations around facial hair. Never use hair dye on your eyebrows or eyelashes. The Federal Drug Administration warns that chemical dye near the eyes can cause severe injury or permanent blindness.³
When you are ready to color, get your space in order
• Skip the shampoo: Do not wash your hair for 24 to 48 hours before coloring. Your natural scalp oils act as a protective shield against chemical irritation.
• Apply a skin barrier: Smooth a thin layer of petroleum jelly or heavy lotion along your hairline, ears, and neck to prevent skin staining.
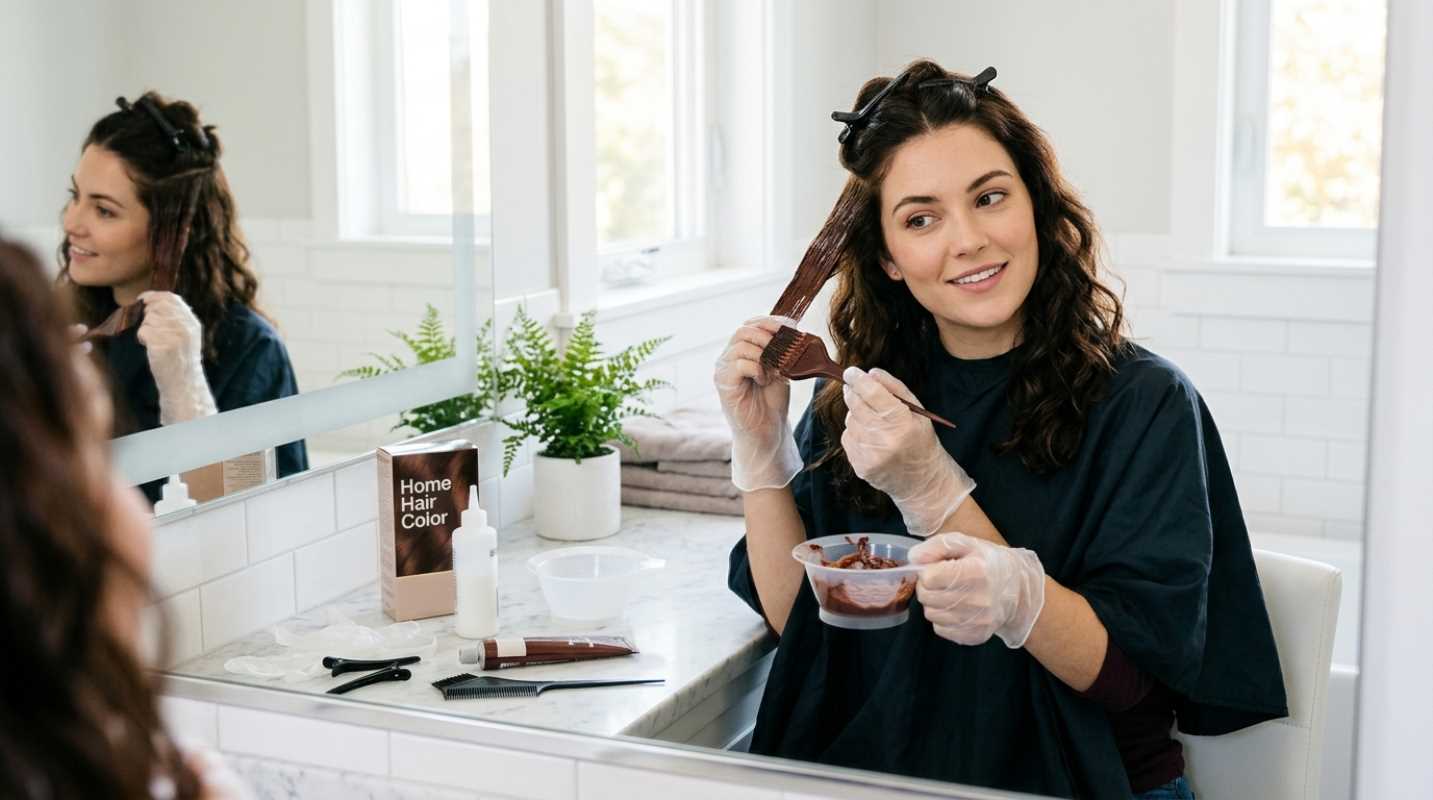
• Use non-metallic tools: Gather plastic sectioning clips, an old towel, and a ceramic or plastic bowl. Never let hydrogen peroxide touch metal bowls or clips, as metal causes the chemicals to react unpredictably.
Mastering At Home Hair Coloring Techniques
Sectioning your hair prevents patchy spots and missed roots. Divide dry, detangled hair straight down the middle from your forehead to your neck, then ear to ear. Secure these four distinct quadrants with plastic clips.
Your application technique depends on whether you are coloring fresh hair or touching up existing dye.
• Virgin application: If you are coloring natural, untreated hair for the first time, apply dye to your mid-lengths and ends first. Wait 10 to 15 minutes before applying dye to your roots. Heat radiating from your scalp causes root area chemicals to process much faster. Applying dye to roots last prevents hot roots, where the hair closest to your head turns noticeably brighter than the rest.
• Root touch-up: If your hair is already colored, apply dye only to the new growth at your roots. Do not pull permanent dye through your ends every single time you touch up. Overlapping permanent dye over previously colored hair creates dark pigment buildup and leads to serious breakage.
Set a timer as soon as you finish applying the dye, and follow the product timing strictly. Leaving hair dye on past the recommended window will not make the color richer or longer-lasting. It simply damages your hair's internal keratin structure.
Protecting Hair Health During Coloring
Chemical dyes open up the hair cuticle using alkaline agents, breaking internal disulfide bonds to allow pigment inside. Rebuilding those structural bonds matters if you want soft, shiny hair after coloring.
Look for modern hair dyes or post-color treatments that feature active bond-building technology. Ingredients like citric acid and bioactive peptides work beneath the cuticle to repair fractured polypeptide chains and rebalance your hair's pH levels. Using a deep bond-repair mask once a week after coloring keeps your ends strong and resilient.
Avoid combining heavy chemical treatments in close proximity. Never bleach, perm, or chemically relax your hair in the same week you apply permanent color. Spacing out treatments gives your hair time to recover its natural moisture balance.
Maintaining Your New Look
Once you rinse out your color, your maintenance routine dictates how long that fresh shade stays active.
Wait at least 48 to 72 hours after coloring before washing your hair with shampoo. This delay gives the hair cuticle enough time to fully seal back down, trapping color pigments inside the cortex layer so they do not wash right down the drain.
Adjust your regular washing habits to extend the life of your shade
• Switch to sulfate-free shampoo: Standard sulfates act like harsh detergents that strip away synthetic color. Stick to gentle, sulfate-free, pH-balanced formulas designed for color-treated hair.
• Turn down the water temperature: Hot water causes the hair shaft to swell and opens up the cuticle, letting color escape. Rinse your hair with lukewarm or cool water instead.
• Apply heat and UV protection: Thermal tools quickly dry out color-treated hair and fade pigment. Always apply a heat protectant spray before blow-drying or curling. If you spend time outdoors, use a leave-in conditioner containing UV filters to prevent sunlight from turning your shade brassy.
If your color starts losing its luster after a few weeks, use a color-depositing gloss or conditioning mask to refresh your tone without using damaging peroxide.
If you ever find yourself wanting to go from dark brown to platinum blonde, or trying to fix a botched home job, that is your cue to step away from the box dye. Book an appointment with a professional stylist who can safely handle complex color corrections. Otherwise, armed with the right tools and techniques, you can enjoy active, healthy hair right at home.
Sources:
1. Garnier - Easy 4 Step Guide to Hair Dye Patch Test
https://africa.garnier.com/en-za/tips-how-tos/an-easy-4-step-guide-to-doing-a-hair-dye-patch-test-when-dyeing-your-hair-at-home
2. Indian Journal of Dermatology, Venereology and Leprology - Dermatological Adverse Effects of Hair Dye Use
https://ijdvl.com/dermatological-adverse-effects-of-hair-dye-use-a-narrative-review/
3. U.S. Food and Drug Administration - Hair Dyes Safety Q&A
https://www.fda.gov/cosmetics/resources-consumers-cosmetics/cosmetics-safety-qa-hair-dyes
*This article on modernlifestyle is for informational and educational purposes only. Readers are encouraged to consult qualified professionals and verify details with official sources before making decisions. This content does not constitute professional advice.*