Have you ever looked in the mirror after finishing your makeup and felt like something was still off? You applied your foundation smoothly, your eyeliner is crisp, but your face looks slightly out of balance. Nine times out of ten, your eyebrows are the culprit.
Eyebrows do serious heavy lifting for your facial structure. They frame your eyes, define your bone structure, and signal non-verbal expressions before you speak a single word.
For years, beauty trends pushed everyone toward identical shapes. You might remember the heavy, blocky Instagram brows of the mid-2010s or the hyper-laminated upward spikes that followed. Today, the beauty world has moved toward soft structure, natural movement, and realism.¹ Modern shaping centers on working with what you already have rather than forcing your brow hairs into an artificial mold.
Here is the ultimate ground rule for eyebrow grooming: brows are sisters, not twins. Natural facial asymmetry means your left and right sides will never match identically. Trying to force them into exact mirror images usually leads to over-plucked thin lines and plenty of frustration. Working with your natural brow pattern is always the smartest path forward.
Mapping Your Features Determining Eyebrow Shape for Face Type
Finding your ideal brow starts with reading your facial structure. The core goal is creating balance and visual contrast. If you have soft, rounded features, sharp brow arches bring subtle definition to your face. If you have a strong, angular jaw, softer curved brows help dial back that sharpness.
Matching brow shapes to specific face types follows a simple guide
• Oval faces: A softly angled brow maintains your natural facial symmetry without pulling attention away from your other features.
• Round faces: A high, sharp arch creates vertical lift, helping elongate your face and accentuate your cheekbones.
• Square faces: A softly curved or rounded arch diffuses a heavy jawline and softens angular bone structure.
• Heart faces: A low arch with a soft curve draws focus away from a pointed chin and balances a wider forehead.
• Long faces: A flat, horizontal brow with a subtle tail adds width across your face, breaking up vertical length.
• Diamond faces: A soft, curved shape reduces the visual width across your cheekbones while softening your chin.
To find your custom starting and stopping points, professional beauty artists rely on the Golden Ratio mapping method.² This system uses your own facial landmarks to pinpoint exactly where your brows should begin, peak, and end
1. The Head (Start Point): Hold a thin pencil vertically from the edge of your nostril straight up past the inner corner of your eye. That spot is where your brow head should start. Starting brows too far apart visually widens your nose, while starting them too close makes you look perpetually stern.
2. The Arch (Peak Point): Pivot the pencil from the nostril edge so it aligns directly through the center of your iris while looking straight ahead. This marks your highest structural point. About two-thirds of your overall brow length should sit before this peak.
3. The Tail (End Point): Angle the pencil from the outer corner of your nostril past the outer corner of your eye. This marks your end point. A important rule here is keeping your tail from dipping lower than your starting head point. A drooping tail pulls your entire face downward, making you look tired.
Your Needed Toolkit At-Home Brow Grooming Tools and Techniques
You do not need a full professional salon setup to clean up your brows safely at home, but using the wrong tools guarantees frustrating results. Ditch those blunt, flat tweezers that pull on your skin without grabbing fine hairs.
A proper home grooming kit requires four basic tools
• Slanted tweezers: Sharp, precision-angled tips let you grab individual hairs right at the root without snapping them off.
• Spoolie brush: Needed for brushing hairs upward so you can see your true growth pattern before removing anything.
• Micro trimming scissors: Small, straight blades allow you to trim extra-long hairs without creating awkward bare patches.
• White eyeliner pencil: Used to map out your shape directly on your skin so you never pluck blindly.
When you are ready to groom, draw your outline using your white pencil based on your mapping points. Any hair falling outside those white lines is fair game for removal. Pull your skin taut and pluck one hair at a time in the direction of natural growth. Step back from your mirror every few plucks to check your overall balance.
For trimming, brush all your brow hairs straight up using your spoolie. Only snip the very tips that extend past your top mapped outline. Always trim straight across individual hairs rather than cutting a broad horizontal line. Remember the cardinal rule: less hair removal is always better. You can always pluck another hair tomorrow, but growing one back takes months.
Finding quality tools makes mapping and defining your brows significantly easier.
Mastering the Art of Filling in Sparse Brows
Once your brows are mapped and trimmed, filling in thin or patchy spots completes your look. Choosing the right product texture depends on your hair density and desired finish
• Pencils: Ultra-fine pencils excel at creating crisp, hair-like strokes in sparse patches or empty tails.
• Pomades: Best for dramatic, defined brows, though they require a very light hand and an angled brush to avoid heavy lines.
• Tinted gels: Perfect for fast, everyday styling, offering light hold and subtle tint without adding heavy texture.
To create convincing hair strokes, flick your pencil upward and outward in short, delicate motions that match your natural hair direction. Avoid filling in your brows with one continuous solid block of color.
Once you finish filling in bare patches, run a clean spoolie through your brows to break up any heavy pigment. Tinted brow gels work exceptionally well as a final step, holding stubborn hairs in place while adding believable thickness.³
Keeping Brows Healthy for the Long Haul
Over-plucking is a quick slope to permanently sparse brows. Follicles need rest periods between hair removal sessions to recover and grow back healthy. Stick to a weekly or bi-weekly grooming schedule rather than plucking daily stray hairs as soon as they poke through the skin.
If you are recovering from a waxing mistake or dealing with naturally sparse areas, nourishing serums and natural oils can support healthier hair. Applying a tiny drop of cold-pressed castor oil across your brow line before bed keeps the hair conditioned and prevents breakage.
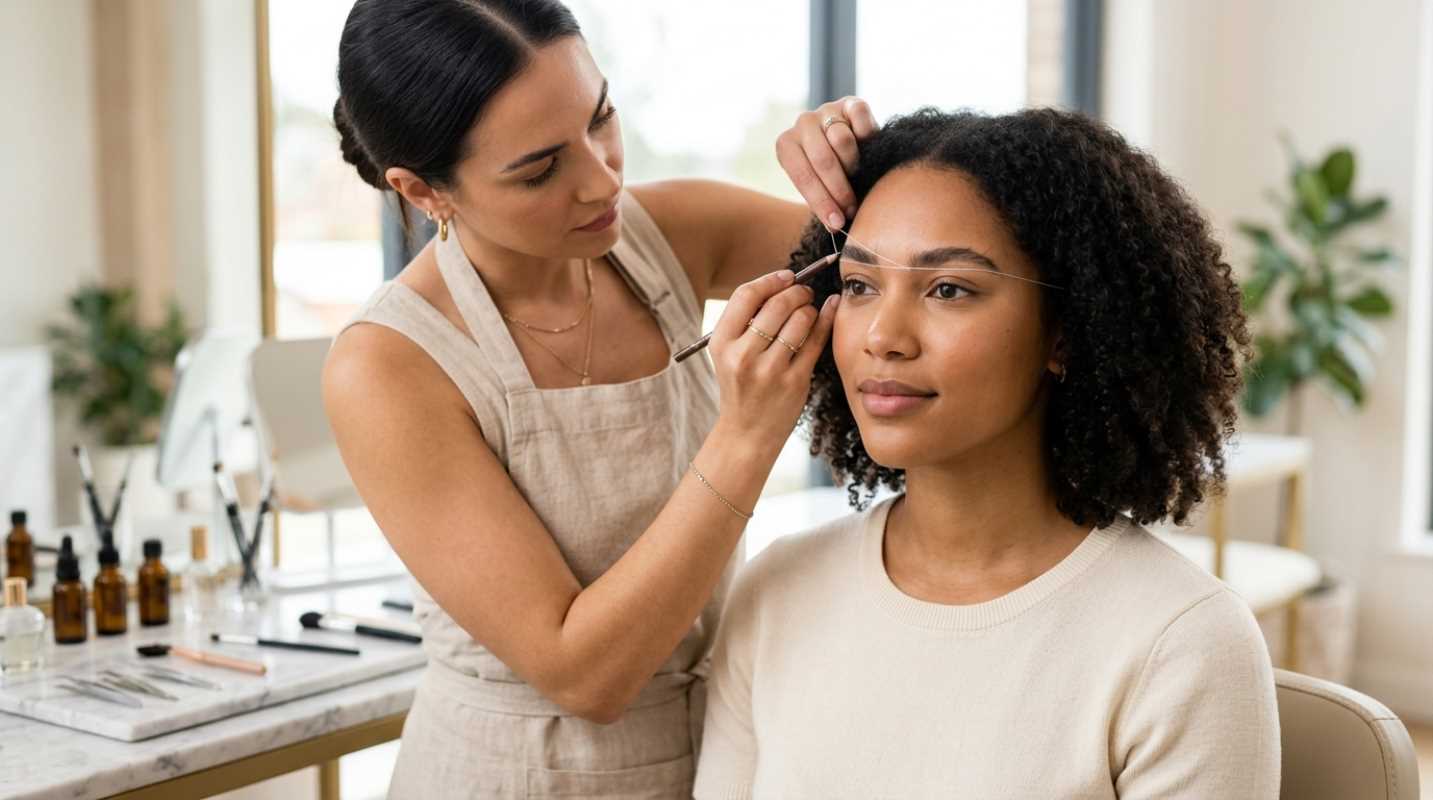
Sometimes, attempting a massive reshape on your own is risky. If you have completely lost your natural arch or want a major shape overhaul, book a session with an experienced brow artist for a reset. A professional can re-establish your baseline shape, leaving you with an easy map to maintain comfortably from home.
Sources:
1. Perfect Corp Brow Trends Guide
https://www.perfectcorp.com/business/blog/makeup/eyebrow-styles-trends-2026-guide
2. 3D Brows Academy Brow Mapping Guide
https://www.3dbrowsacademy.com/brow-mapping/
3. The Brow Beauty Boutique Shape Guide
https://www.thebrowbeautyboutique.com/journal/the-2025-brow-shape-guidewhat-looks-best-on-different-face-types