Have you ever looked down at your bathroom floor and felt a wave of defeat? Those dingy, grey lines running between your beautiful tiles can make an entire room feel dirty, no matter how hard you scrub. It is incredibly frustrating. You clean the tile itself until it shines, but those stubborn grout lines remain dark, stained, and completely uncooperative.
Many people assume that once grout reaches this state, the only option is to call in the pros. But let's look at the numbers before you make that call. Hiring a professional to clean and seal your tile and grout is a major investment. Professional cleaning rates typically run from $1.50 to $3.50 per square foot, and sealing adds another $0.60 to $2.50 per square foot.¹
For an average room, you are looking at a bill between $250 and $750.¹ If you want to deep clean and seal a medium-to-large kitchen or a master bathroom, that cost can easily climb to anywhere from $1,000 to $1,800.²
So what does this actually mean for your wallet? It means you are paying a massive premium for something you can easily do yourself. By taking on this project over a weekend, your total cost for high-quality materials, cleaners, brushes, and a premium sealer will be under $50. That is a massive 90% to 95% savings. It is a high-impact, low-cost project that will make your floors look brand new.
The Science of Grime: How to Clean Tile Grout Effectively
To beat the grime, you have to understand what you are up against. Why does grout get so dirty in the first place? Think of grout like a hard, cement-based sponge. It is highly porous by nature. Every time you walk on it with dirty shoes, spill a cup of coffee, or mop your floors with dirty water, the grout acts like a vacuum, absorbing all that liquid and trapping it deep inside.
Over time, this creates a buildup of grease, soap scum, and deep-set dirt. But before you run to the pantry to grab the vinegar, stop right there. A lot of online blogs tell you to mix baking soda and vinegar. This is actually terrible advice for your floors.
Vinegar is highly acidic. Regular use of acidic cleaners will slowly erode cement-based grout, making it crumble over time. Even worse, if you have natural stone tiles like marble, limestone, or travertine, vinegar will permanently etch the surface and ruin your expensive tile. You want to stick to alkaline or neutral cleaners instead.
Here are three highly effective, budget-friendly DIY cleaning methods that actually work:
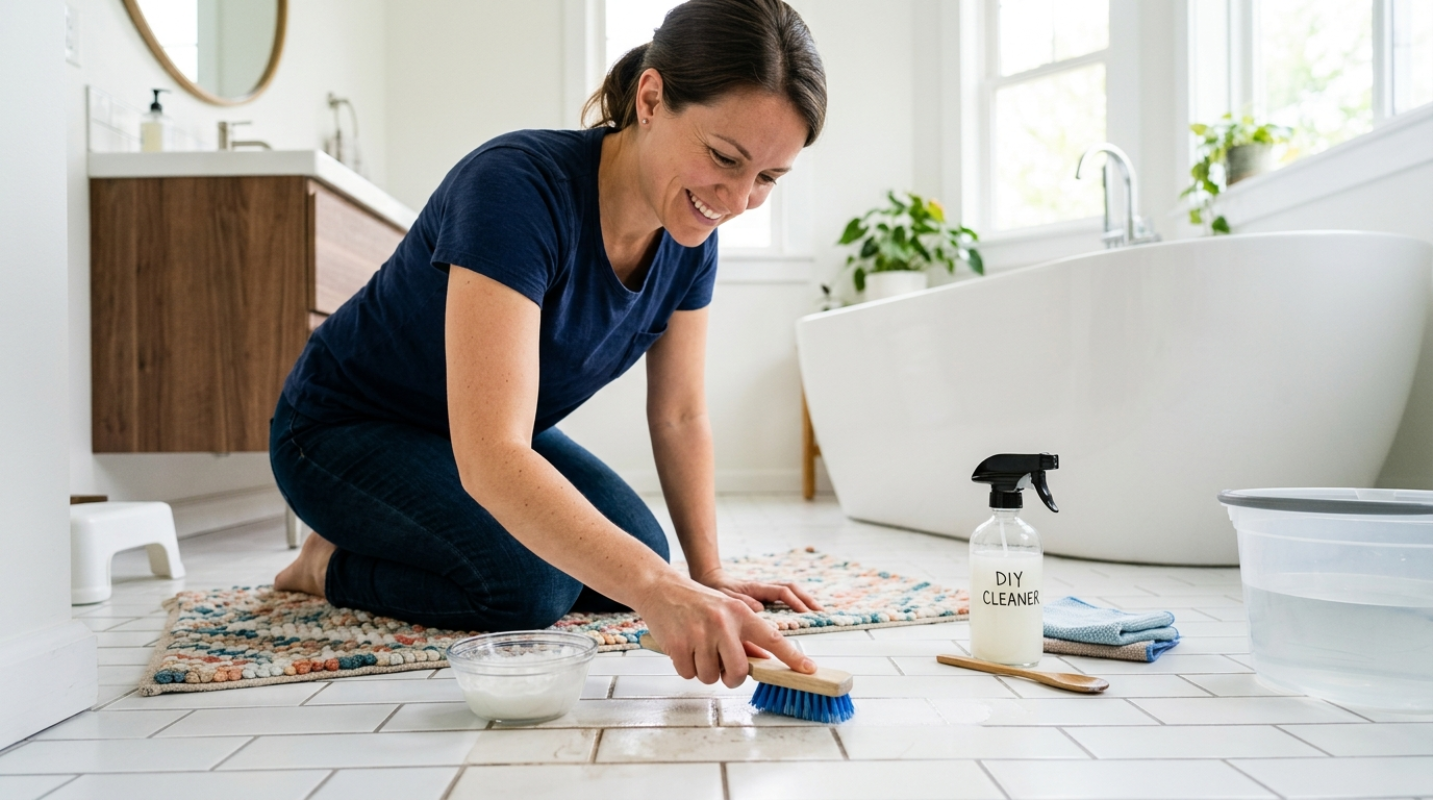
1. The Three-Ingredient Paste - This is perfect for light-to-medium grime. Mix 1/2 cup of baking soda, 1/4 cup of hydrogen peroxide, and 1 tablespoon of Dawn dish soap. The baking soda provides a gentle abrasive grit, the peroxide brightens and kills mold, and the soap cuts through grease. Apply the paste to your grout lines, let it sit for 5 minutes, scrub in circular motions with a stiff-bristle brush, and wipe it clean with a damp microfiber cloth.
2. The Oxygen Bleach Soak - This is the best option for deep, stubborn stains. Dissolve 2 tablespoons of oxygen bleach powder in 2 cups of warm water. Pour the solution onto the grout lines and let it sit for 10 to 15 minutes. This dwell time is important because it allows the oxygen bubbles to lift the dirt out of the pores. Scrub thoroughly and rinse with clean water.
3. Steam Cleaning - If you want a chemical-free alternative, use a handheld steam cleaner. The pressurized, high-temperature steam blasts dirt out of the grout pores and sanitizes the surface without leaving any chemical residue behind.
Tools of the Trade: Your Budget-Friendly Cleaning Kit
You do not need a garage full of specialized equipment to tackle this project. A simple, budget-friendly kit is all it takes to get professional results.
• Stiff-bristle grout brush - Avoid metal wire brushes because they will erode your grout lines.
• Microfiber cloths - These grab dirt much better than standard cotton towels.
• Safety gear - Wear gloves and eye protection, especially when working with bleach or chemical sealers.
If you prefer a minimalist, eco-friendly approach, stick to the steam cleaner and some warm water. It is fast, highly effective, and leaves absolutely zero chemical residue behind.
Advanced Refresh Techniques Beyond Simple Scrubbing
What if you scrub and scrub, but the stains just won't budge? Or maybe you are just tired of the color and want a modern aesthetic update. You do not need a contractor to completely refresh your tile work.
If your grout is structurally sound but permanently stained, grout pens or colorants are a game-changer. Products like Mapei Grout Refresh act as a paint and sealer in one. You simply color over the clean, dry grout lines. This allows you to completely change the color, shifting from a dingy white to a modern charcoal gray, while sealing the grout at the same time.
You can also paint outdated wall tiles or backsplashes for a dramatic makeover. Clean the tiles thoroughly, sand them lightly to create some grip, apply a high-quality bonding primer, and finish with two coats of specialized tile paint. Just keep this trick to the walls, as painted floor tiles in high-traffic areas are prone to chipping.
If you have a cracked tile, use a color-matched epoxy resin to seal it. For crumbling grout, you will need to replace it. Use a manual grout rake to scrape out the top eighth-inch of old grout, vacuum the debris, and press new grout into the gaps using a rubber grout float.
Once your grout is clean or refreshed, you must seal it. This is the most important step, yet it is the one most people skip. Unsealed grout will immediately start absorbing dirt and moisture again.
To check if your grout needs to be sealed, do the water drop test. Sprinkle a few drops of water onto the grout line. If the water beads up, your seal is intact. If it sinks in and darkens the grout, it is time to reseal.
Choose a penetrating sealer like Aqua Mix Sealer's Choice Gold or Miracle Sealants 511 Impregnator.³ These sink deep into the pores to repel moisture without changing the look of your tile.
Follow these rules for a flawless application:
1. Wait 48 to 72 hours after cleaning or regrouting to make sure the grout is completely dry.³ Sealing damp grout traps moisture, which ruins the sealant and grows mold.
2. Apply the sealer precisely using a foam roller, an applicator bottle, or a small brush. Avoid spray-on sealers in tight spaces, as they can leave a hard-to-clean residue on the tiles.
3. Wipe away any excess sealer from the face of the tiles within 3 to 10 minutes. If you leave it on glazed tiles, it will dry into a sticky, cloudy haze.
4. Apply a second coat in wet areas like showers, and let it cure for 24 to 48 hours before exposing it to water. Plan to do this every 12 to 24 months.
Maintenance Hacks to Keep Your Tiles Looking Pristine
To keep your hard work from going to waste, establish a simple weekly routine. Skip the harsh chemicals and acidic cleaners. A quick mop with warm water and a neutral pH cleaner is all you need.
The biggest mistake people make is using dirty mop water. If your mop water looks like dishwater, you are just pushing dirt back into those porous grout lines. Change your water frequently.
You do not need to spend thousands of dollars to have gorgeous, clean tile floors. With the right tools, a little patience, and under $50, you can achieve a professional-grade finish all on your own. It is your home, and you have got this.
Sources:
1. Tile & Grout Cleaning Cost Guide
https://www.inchcalculator.com/tile-grout-cleaning-cost-guide/
2. Cost for Tile and Grout Deep Clean Sealed and Recolored
https://www.reddit.com/r/Tile/comments/1j20j0f/cost_for_tile_and_grout_deep_clean_sealed_and/
3. How to Seal Grout: A DIY Guide to Transforming Your Tiles
https://www.loctiteproducts.com/ideas/fix-stuff/how-to-seal-grout-a-diy-guide-to-transforming-your-tiles.html