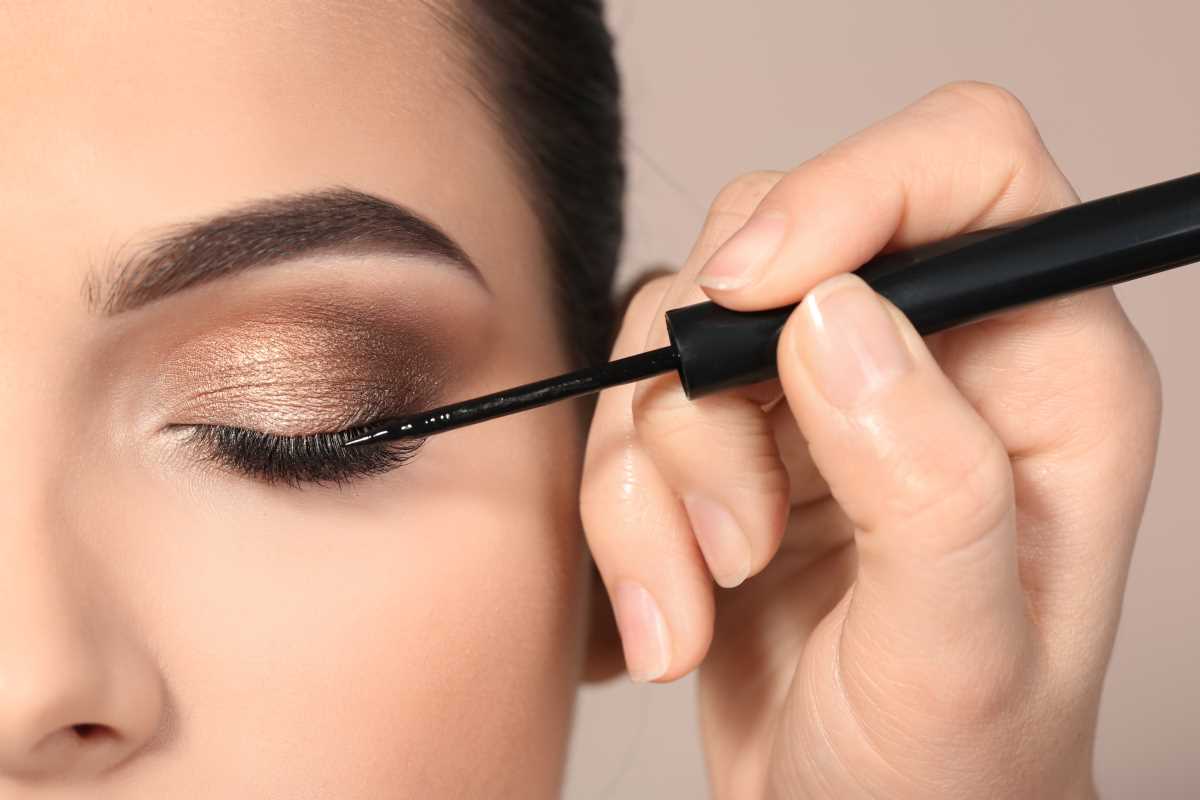
A crisp eyeliner wing can instantly boost your confidence and make your eyes look lifted and awake. But if your perfect tutorial wing keeps vanishing, warping, or dragging your eyes down, you’re not alone. The problem may simply be that your eye shape needs a different approach.
Think of your eyelid as architectural real estate. Just like tailoring a jacket to fit your shoulder width, eyeliner mapping works with your natural bone structure and skin folds. Makeup is an optical tool to improve your features, altering how wide, open, or lifted your eyes appear.
Mastering Eye Shape Mapping to Identify Your Canvas
Before you uncap a pencil or dip a brush, you need an honest assessment of your eye shape. Grab a handheld mirror and hold it directly in front of your face at eye level. Keep your expression neutral and your chin level. If you tilt your head back or raise your brows, your eyelid skin shifts and hides the natural folds.
Look closely at your lids and corners to identify your primary shape
• Hooded Eyes: You have a fold of skin from the brow bone that drapes over your crease, covering most or all of your mobile eyelid when your eyes look forward.
• Monolid Eyes: You have a smooth eyelid surface with little to no visible crease fold.
• Round Eyes: You see white space around the iris (the colored part of your eye), especially along the bottom edge, giving your eyes a large, circular look.
• Almond Eyes: Your eyes have an oval shape with slightly pointed corners, and your iris touches both the top and bottom lids.
• Downturned Eyes: The outer corners of your eyes sit lower than your inner tear ducts.
• Upturned Eyes: The outer corners naturally angle higher than the inner corners.
Your bone structure dictates how much visible lid space you have to work with. If you have deep-set brow bones or low creases, attempting a thick line right across the lid simply eats up space and makes your eyes look smaller.
Tailored Techniques for Every Eye Shape
Once you know your canvas, you can pick a technique that flatters your natural lines instead of fighting them.
Hooded Eyes
The biggest frustration with hooded lids is watching a straight wing disappear into a fold the second you relax your brows. Celebrity makeup artist Katie Jane Hughes solved this by popularizing the batwing technique.¹
To do this, look directly into your mirror with relaxed, open eyes. Draw your flick straight across the skin fold where you want it to be seen. When you close your eye, you will see a stepped, geometric shape that looks like a small bat wing. When your eye opens, that stepped line snaps into a smooth, sharp flick. Keep the inner two-thirds of your upper lid strictly lined along the waterline so you keep all your mobile lid space open.
Monolid Eyes
Monolids provide a smooth surface that looks striking with graphic lines and smoky definition.
Floating eyeliner works wonders here. Instead of placing the product right at the lash roots where it folds away, draw a crisp line two to three millimeters above your lash line so it sits cleanly across the lid when your eyes open. If you prefer a softer everyday look, apply a rich gel pencil along the lash base, then immediately buff the upper edge upward with a small dense brush and dark brown powder eyeshadow before it sets.
Round Eyes
Round eyes are naturally bright and open, so the goal is horizontal elongation to create a feline effect.²
Avoid running a thick arch over the center of your iris, which exaggerates roundness. Instead, start your liner at the outer half or outer third of your eye. Drag the wing straight outward toward your hairline rather than angling it high toward your brow tail. Smudging a tiny bit of pencil along the outer third of your lower lash line anchors the shape.
Almond Eyes
Almond eyes are balanced and symmetrical, which means they can pull off almost any style.³
A classic cat eye or subtle kitten flick is ideal. Follow the upward angle of your lower lash line and extend it out. Start with an ultra-thin line at your inner corner, keeping the pigment tight against your lash roots, and build thickness steadily as you reach the outer edge.
Downturned and Upturned Eyes
For downturned eyes, avoid following your lash line all the way to the very end, as that draws the eye down. Stop your line two millimeters before the outer corner and flick upward at a 45-degree angle.
For upturned eyes, your natural lift is already present. Keep your upper wing short and straight, then add a soft line to the outer half of your lower lid to bring visual balance to the bottom edge.
Navigating Technique Difficulty Levels
You do not need expert-level precision on day one. Match your daily routine to your current skill level and build up over time.
• Beginner Level: Start with tightlining and pencil smudging. Press a creamy pencil directly into the roots of your upper lashes from underneath. It defines your lash line instantly without requiring a straight wing.
• Intermediate Level: Move to a fine-tip liquid pen. Use the dot-and-connect method: place a tiny dot where you want the wing to end, check that both sides match, then pull a line from your lash base to meet the dot.
• Advanced Artistry: Experiment with floating creases, double wings, and sharp inner-corner tear duct points. These require steady hand control and quick cleanup.
The formula you choose makes a massive difference in how easy the application feels and how well it stays put throughout the day.
• Felt-Tip Liquid Pens: Best for sharp, crisp wings. Look for pens with ultra-fine tips for micro-adjustments.
• Creamy Gel Pencils: Ideal for tightlining, smudging, and soft daytime definitions that set into a waterproof finish.
• Angled Detail Brushes: Perfect for stamping guidelines with dark eyeshadow or gel pots.
Refining Your Everyday Technique
Remember that your eyes are sisters, not identical twins. Natural facial asymmetry means your wing angle on one side might need a slight adjustment compared to the other.
If your line turns out wobbly, do not wipe everything off and start from scratch. Take a flat, angled brush dipped in a drop of micellar water or a dab of creamy concealer. Sweep the brush right along the bottom edge of your wing to sharpen the angle and erase stray marks in seconds.
Play around with softer tones like chocolate brown, plum, and charcoal alongside standard black. With a few minutes of practice using the right angle for your shape, lining your eyes becomes quick, effortless, and fun.
Sources:
1. Katie Jane Hughes Hooded Eye Tips
https://www.glamour.co.za/beauty/makeup/makeup-artist-katie-jane-hughes-has-a-genius-winged-liner-trick-for-hooded-eyes-35103703
2. Eyeliner Looks and Eye Shapes
https://www.whowhatwear.com/eyeliner-looks
3. Eyeliner Eye Shape Guide
https://www.bangstyle.com/posts/eyeliner-eye-shape-almond-monolid-hooded-6140